Showing posts with label spray paint. Show all posts

Wednesday, January 29, 2014

Chalkboard Art

Hello, from snowy, icy Alabama.  I thought I would be escaping the icy cool temps of the North by living in the deep South for 18 months, but that doesn't seem to be the case.  This unusual winter storm has fallen on the most inconvenient day for me. I was so looking forward to a visit from my mom and aunt who were scheduled to fly in from Philly to Birmingham today, but due to this once in 25 year weather phenomenon, their flight was canceled.  I am praying very very hard that they will be able to get here tomorrow.  The strangest thing about all of this is the fact that this past Saturday, I was wearing shorts, a T-shirt and flip-flops, to a NorthFace and Uggs on a Wednesday to most likely shorts, a T-shirt and flip-flops this Saturday with the 71 degree and sunny forecast.  


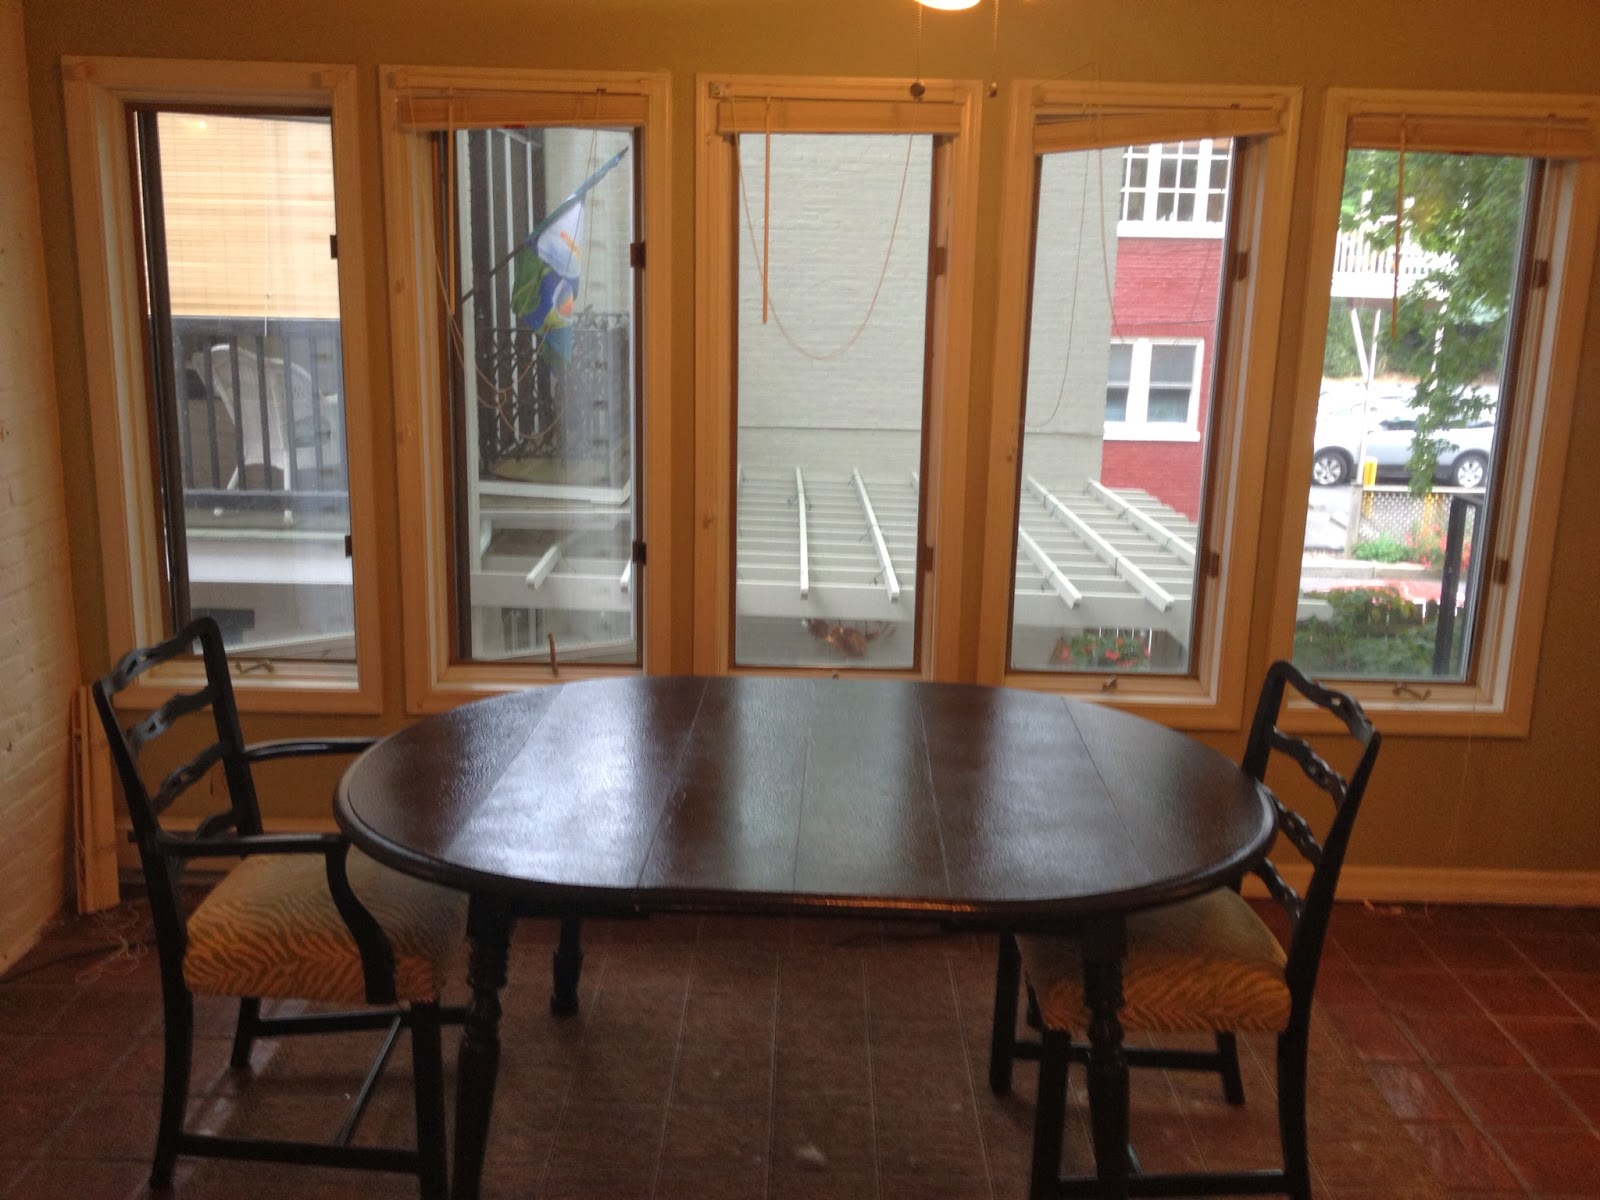
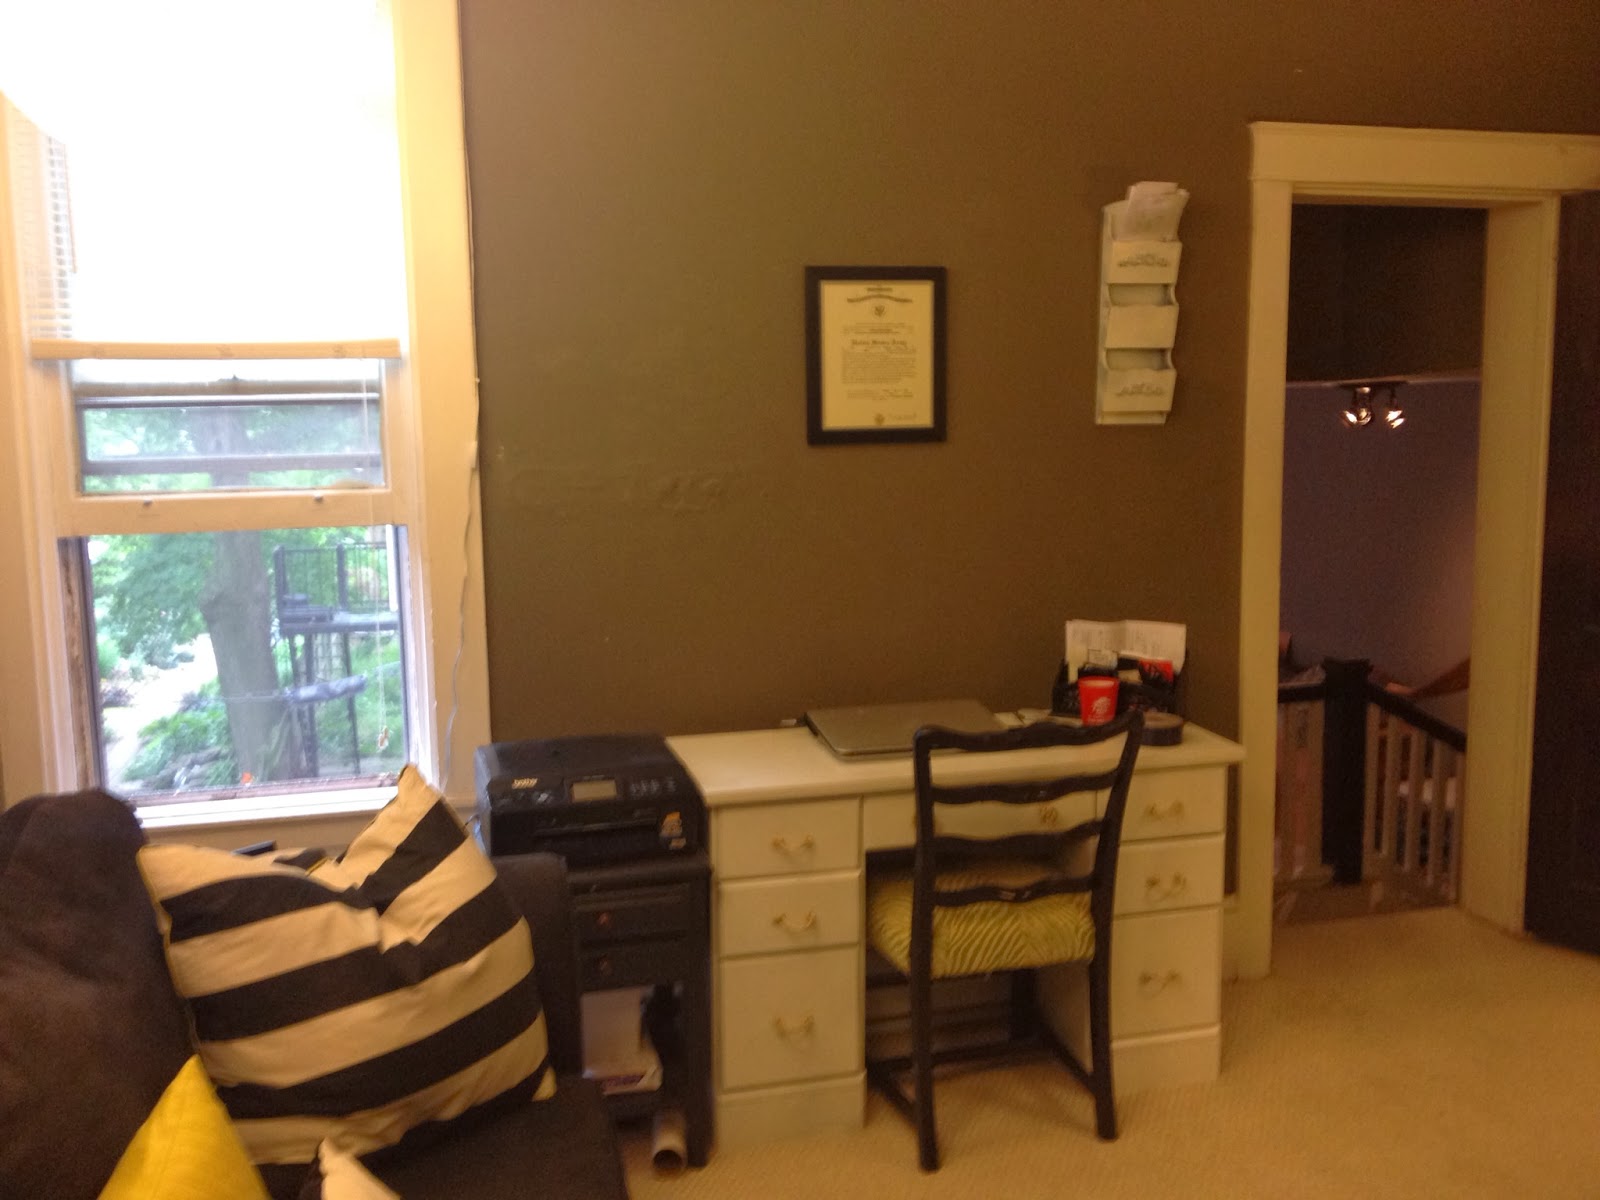
Since I knew we would be having some visitors while we are here, I wanted to make a multi-purpose room out of one of our spare bedrooms.  The purposes being: A Man Cave and Guest Room. 

While my husband was away for some training over Thanksgiving, I wanted to surprise him with a Man Cave when he came back.  I decided I was going to do this room on the cheap! I really had to get creative with things I already owned to spruce it up. I repainted and reframed pictures, I used cheap Walmart fabric for curtains, and tried to make it cozy, but sophisticated manly at the same time. Cozy for our guests, and manly for the hubs. 

My grandma was getting rid of this huge painting she had picked up at an Estate Sale for around $20. 
I took it off her hands knowing that this would make an awesome chalkboard for the guest room/man cave. 

I picked up some chalkboard paint from Walmart


and gold spray paint 

I got on a roll with the painting and forgot to snap some pictures along the way.  I sprayed the frame gold, not worrying about getting paint on the actual picture because I knew I would be painting over that with chalkboard paint anyways. 

I gave the frame about 2 coats of paint. Then I simply followed the directions for the chalkboard paint. I made sure to allow the suggested drying time before each coat.  I gave it two coats of paint with a foam roller and small paint brush for the corners and sides.  The hardest part was waiting for it to cure 3 days before writing on it!!! 

Once the 3 days were up, I conditioned my chalkboard.  To do this you take a piece of chalk and cover the entire board.  After you erase it, you are all set  you to write.  The conditioning process is important and ensures that once erased, writing does not appear embedded in the chalkboard.


I made a small template on word of the writing I wanted on the chalkboard to surprise my husband when he came home! 


Here is the finished product all ready for my mom and aunt's visit! (Lord will and Weather permitting!) 


I love being able to customize it if we have guests or add "Man Cave" sayings. 


I really love chalkboards a lot. Here is the one I have hanging in my kitchen that keeps me going when trying new recipes! 


DIY chalkboards are so easy and unique because the frames and shapes can be so different.  I love the little personal touch they add to a home that can be changed out with holiday's or special occasions. 

Have you ever made a chalkboard for your home? What kind of sayings do you like to write on them? 


Wednesday, November 6, 2013

DIY Sea Urchin Decor


I have been drooling over these gorgeous Sea Urchin accessories since I first saw them at High Point last Spring. 

Check out these gorgeous Sea Urchin chandeliers I spotted while at High Point! 


Although I could have dropped about $100 to purchase one or two, I decided to make my own. I've seen a few tutorials out there involving a small styrofoam ball for the base, but I didn't like the thought of spray painting the styrofoam. 

Then I found a great tutorial from The Hunted Interior. She found her original tutorial here.

It involves using oven-bake clay for the base instead of styrofoam. 

I picked up my oven-bake clay from Walmart for around $5 and then purchased one pack of long Kabob sticks and one pack of shorter kabob sticks from my grocery store. They run about $2-$3 each. 

I cut the longer rods in half so that I would have a medium sized Sea Urchin, and used the shorter rods for a smaller Sea Urchin. 

Following the same technique as shown on the Hunted Interior, I started by rolling a ball of clay and sticking the rods in a straight line in one direction. 


Then I started breaking up the circle into pie slices to make sure the rods where evenly distributed all over the ball. 


I kept breaking down the size of the pie pieces until I was satisfied with the coverage of the rods over the clay ball. 


Then I simply followed the baking instructions on the back of the clay package. I baked mine for a long time since the clay ball was so thick. Around 45 minutes, checking it periodically. I wasn't worried about the wooden rods in the oven since they are meant for Kabobs.  I knew they could handle the high temperature. 


After the baking, I let them cool and then gave them 2-3 coats of gold spray paint. Some of the rods  where very loose after baking. I used super glue to reattach the rods that where loose back into the clay. 


(One tip I would suggest if you decide to try out this DIY is to make sure that the your clay ball starting out is large enough. The first one I made, the ball was not big enough to handle all the rods it had in it and started to crack when it was baking.)


Project Breakdown
-Oven-Bake Clay:$5
-Kabob rods, 2 packs of different sizes:$5
-Gold Spray Paint: $4

Total: $14 + 2hrs of work

I still have enough supplies to make one or two more, so I would say this project was money and time well spent! 

Wednesday, March 27, 2013

City Apartment Tour


City Apartment Tour

When we moved in last May, we realized we had a BIG room to work with for our living room. It is literally, a huge room. This room alone is bigger than our last apartment in Virginia! (We measured.)

I wanted to split the room up a little to make it serve two different purposes. A definitive entryway and a living space.

I loved the color of the walls, but was looking for a really colorful pop to contrast the slate colored walls. 


Entry Way


Bathroom


Living Room


My curtains are actually sheets! I scored these amazing sheets at Christmas Tree Shoppe and realized the color was a perfect match to my entertainment center color.  

Remember these guys? I found these Sea Fans at the antique shop in Virginia last year. I simply switched out the green paper for white. 

I found that coral pillow at Kirkland's on clearance for around $5. 

These coffee table tray was a Target find on clearance after Christmas. It was $12. 


 I also found those Mercury Glass Candles at Target. They smell amazing! The scent is Island Moonlight. 

Our furniture is from Wolf's Furniture. We wanted large deep furniture to bring the room to scale. 
This is a chair I often end up sound asleep in...


 These chairs are chairs that I re-did in the summer. A total of $5 for the both of them! 

The chevron rug was a big time steal from RugsUsa.com. I got the largest size, a 7'10"x10'10" for $88 during a Memorial Day sale. 


The electric fireplace was a craigslist find. I simply gave it a fresh coat of white paint. It was around $60 and has been keeping us toasty and cozy all winter. 

The coral tin artwork was actually green before. I had my sister do a sort of white wash paint to to it give it a new life. 

The mirror was from my mom. She had bought my sister a vintage bedroom set and this mirror came with it. My sister already had another mirror so I took this one and just painted it gold. It fits perfectly and makes the room appear even larger. 

I wanted to add another dimension of texture so I picked up these little cuties from the dollar section at Target and just hung them with some twine. 

You can read about my entertainment center project here.

I love this piece so much because it really grounds the room. 

I have a slight apocathary jar obsession. I like to fill them with different things for each season. 


Most of the accessories were freebies from a family member cleaning out their attic and the books are all from Salvation Army. A few coats of white and gold spray paint can give anything a new look! 

Anytime I see a neat coral piece on sale somewhere I try to buy it, since my living room has an understated nautical theme to it. This fun coral piece was on clearance due to a chip in the back. 

 So that's my living room! It's very cozy at night when the lights are dim and the fireplace is on. My hubby and I love cuddling up to watch a movie or eat dinner. 


Kitchen 


Office